Thursday 21 April 2016

Homemade Sausage Bun


After the success of making bread/bun, now it is time for me to tryout other flavors and creativity of shaping the bun.  I used to buy this type of sausage bun from the store for my eldest boy and it costs me a few dollars. Now I can easily make it for them for their breakfast. Mummy knows best! (>‿◠)✌


You will see this clearly that this was my first trial shaping the sausage bun. During this time, I do not have much ingredients on hand so I just made some simple toppings. 

Homemade Sausage Bun
Recipe source from : Amiliaya Recipe


What you need:-
Bread ingredients
-250g bread flour (I am using Japanese Bread Flour) - sifted
-5g yeast (I am using 1 tsp)
-30g sugar (I am using organic cane sugar)
-1/2 tsp salt
-125ml fresh milk
-1 egg
-25g softened butter (SCS brand)

Topping:-
-Mozzarella Cheese
-Sausage (I used Nutriplus brand)
-Mayonnaise
-Chili sauce
-Spring onion (chopped)
-Some pepper (optional)

Method :-
1) Mix yeast, sugar, salt, fresh milk and egg in TM bowl for 30 sec/37c/Speed 3
2) Add in the sift flour and knead 2 mins
3) Mix the butter for another 2 mins or until you get a smooth and elastic texture
4) Cover and let it proof until double size (around 45 min to an hour)
5) After 45 mins, punch the air out and shape it into an long oval shape (I do not weight it)
6) Place a piece of sausage at the side and wrap it tightly
7) Cut them into 8 pieces and pull each of them over
8) Let it rest for another 30 mins. Top them with the ingredients and lastly the mozzarella cheese and spring onion
8) Bake it at 160c for 12 - 13 mins

Note : I am using BAF so I do not pre-heated my oven


 See above how it is made step by step. Hope it is clear enough to understand. ;)


Before baking


After baking


I only managed to get a bite (you can see from the picture above), then my eldest son took over. Me, myself too feel it is very delicious and I never thought I can made my own sausage bun. No more buying from outside hahaha.. 


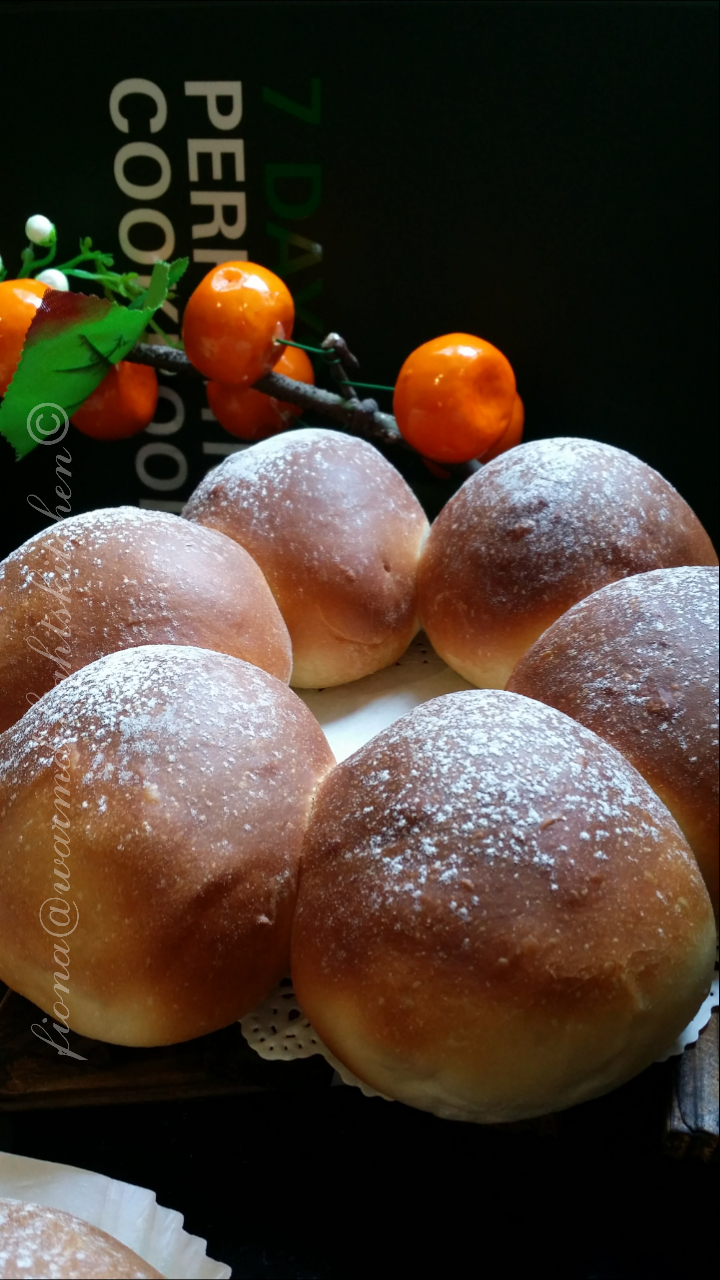
The achievement of this soft and fluffy bun is that it can stay soft for two days (max 2 days finished (^◡^ )).. is the biggest happiness to me. Seeing my family's smiling faces especially my two boys, what more can I ask for . (ɔ◔‿◔)ɔ ♥

Wednesday 20 April 2016

Homemade Red Bean Bun


I was glad to find this bread recipe in Amiliaya Recipe. She really had a great bread recipe to share. I was surprised and happy that the bread stay soft till the next day. At least now I can finally see my efforts for not giving up for making bread.


Let me cut short my long story of making failed bread.. Just follow the recipe and I am sure you will get the soft and fluffy bread for your family.

Homemade Red Bean Bun
Recipe source from : Amiliaya Recipe


What you need:-
Bread ingredients
-250g bread flour (I am using Japanese Bread Flour) - sifted
-5g yeast (I am using 1 tsp)
-30g sugar (I am using organic cane sugar)
-1/2 tsp salt
-125ml fresh milk
-1 egg
-25g softened butter (SCS brand)

Filling:-
-Homemade Azuki Paste
(Recipe : here)

Method :-
1) Mix yeast, sugar, salt, fresh milk and egg in TM bowl for 30 sec/37c/Speed 3
2) Add in the sift flour and knead 2 mins
3) Mix the butter for another 2 mins or until you get a smooth and elastic
4) Cover and let it proof until double size (around 45 min to an hour)


5) After 45 mins, punch the air out and shape it into a small round shape (I do not weight it)
6) Then wrap in the Azuki paste. Sealed it tight.
7) Let it rest for another 30 mins. Dust some bread flour on top before baking it. You can use egg wash too but I normally will omit it because I can not finished the egg wash and it is just wasted.
8) Bake it at 160c for 12 - 13 mins

Note : I am using BAF so I do not pre-heated my oven


My mum was waiting outside while the bread was on second proofing. She loves red bean bun so much and can not wait to eat. 


While I was still taking the picture for my blogging, my mum was standing beside and asked 'How long you need take to finish the picture?' LOLzz.... She really can not wait to taste it!


From this picture, I knew my bun was successful and I am happy with it. Only my hubby will understand my feelings of success because he always ate my failed bread! Hahaha..


Red bean bun, my mum is a big fan of it. Not only her... my youngest son was the second one. All my family love it except my eldest son. 


 This was the third batched of my red bean bun. My mum asked for more filling so I stuffed them as much as I can.


Hope this recipe helps you too especially if you were like me having failed for so many times. Lastly, I really want to thank Amiliaya for the sharing her recipe. Thank you.


 Happy kneading.....

Monday 18 April 2016

Belgian Waffle?....


I've always heard about Belgian Waffle but I've never tried to make it before until I got my waffle maker. I bought it from Lazada when it was on offer for only RM39! Cheap right?? Without thinking much, I straight away bought it back and the next day I received it.


I bought it also because of the DHM group hahah..Let me share the recipe with you here.

What you need:-
Recipe source from : DHM Karen's recipe

What you need:-
-2 cups all purpose flour (I used SRF)
-4 tsp baking powder (I omit since I am using SRF)
-1/2 tsp salt
-1/4 cup sugar
-1/2 cup oil
-2 cups milk
-2 eggs, separated

Method:-
1) Sift the dry ingredients together in a large bowl and set aside (flour and salt)
2) Separate the eggs
3) Mix the egg yolk, milk and oil and stir to combine
4) Add in the dry ingredients and mix well
5) In a small bowl, Add in the sugar and beat the egg white till stiff
6) Lastly, fold in the egg whites
7) Preheat the waffle machine for around a minute then pour three scoop of batter in and wait for 2 or 3 minutes before you open.


How was it? You can pour more than three scoop if you prefer it more round. Lay the hot waffle on the baking tray to avoid hot air trapped inside. It will make you waffle wet and soggy.


This was my eldest son's portion. He waiting at the dinning table while I took this picture. Keep shouting, are you done yet? Are you done yet? haha.. he can not wait for it. It is not because of the waffle, it's because of the icecream sitting on top there! hahaha..


I prefer it with ice cream too but the ice cream was not enough to make a share for me. *cry* but it is ok because the waffle tastes so crunchy outside and soft inside. Smells good and I can eat it by its own.


My mum was joining us for this waffle and she gave me a thumbs up too.


Happy with the end product and I ate non-stop. It is super delicious. I had no regret to buy this waffle maker even though I have one at home but it was packed up somewhere. Since it is on promotion and it is only RM39! 


You can too make the batter earlier or the day before. The end product will still be the same. Makes your life more easier when it comes to preparing breakfast or lunch boxes for the kids.


Happy waffle~ing...