Tuesday 12 July 2016

Mee Hoon Kueh (Hand-Pulled Noodle)


Mee hoon kuey is a very popular dish in all Chinese homes. It is also called homemade hand-pulled noodle. It is a comfort dish when the weather is cool or it is a rainy day. You can serve this mee hoon kuey either in soup or dry version. But I personally like it in soup base. We always make ikan bilis soup and keep it in the freezer. The dough can be made in advance and kept inside the freezer until you want to cook it.

Mee Hoon Kueh aka hand-pulled noodle
Recipe source from : Fiona Low


What you need :-
Dough
-300g all purpose flour
-1 large egg
-2 tbsp sunflower oil
-130g water - you may not need to use it all

Soup base:-
-Ikan bilis soup

Other ingredients:-
-sliced mushroom
-sliced pork (marinate with some soy sauce and pepper)
-marinated minced pork - for recipe, click here
-prawns
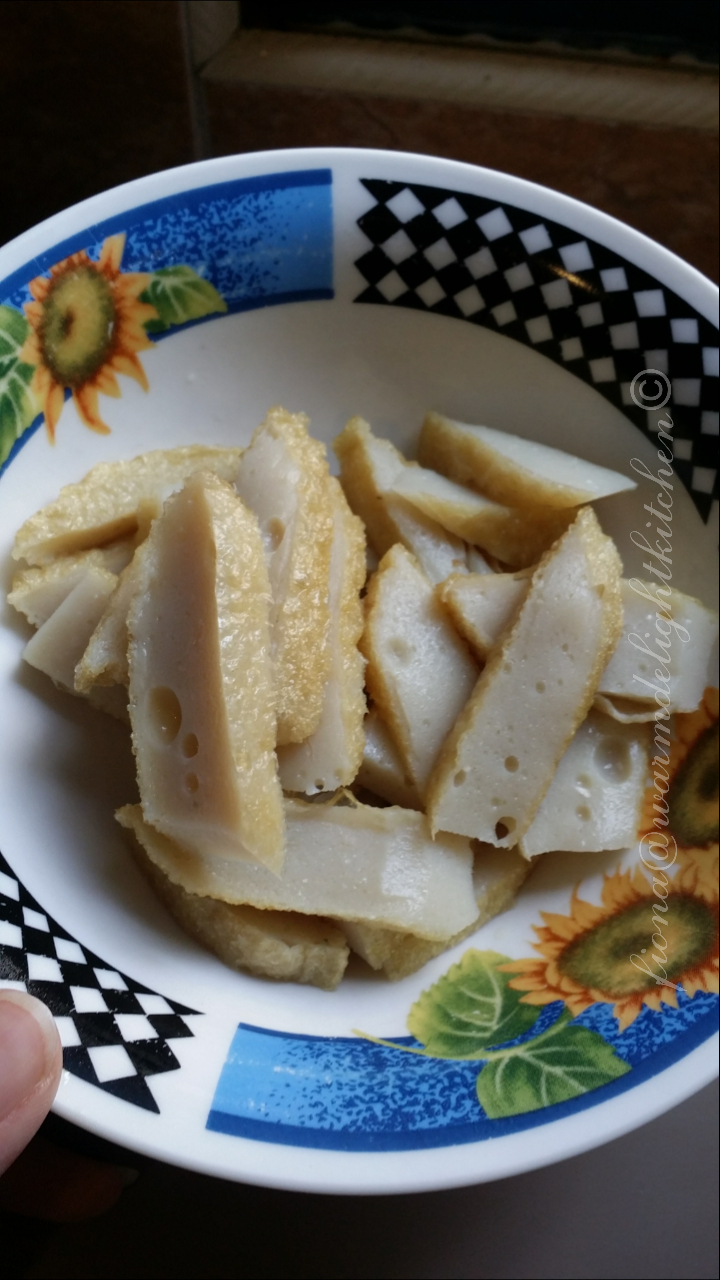
-fish cake (optional)
-baby spinach

Garnished :-
-fried shallots

Method for the dough:-
1) Using a Magicmix gadget, put in the flour, egg and oil with the machine still running, slowly add in the water until it forms a dough.
2) Scoop the ikan bilis soup base into a small pot ( for cooking and serving individually ), add in the mushroom and the sliced pork.
3) Add in the minced pork by rolling them into a ball like making pork balls.
4) Now start to hand-pull the noodle (as thin as possible) and drop them into the soup base according to your amount of serving.
5) Add in the prawns and the vegetables and let it boil for 3 minutes or until the noodle is cooked.
6) Garnished with fried shallots
7) Serve hot and dip with chili padi


 These are the ingredients I used but you can also replace with others ingredients that you prefer.


The ready dough is waiting to be pulled!! hahaha...


The best part in tasting the delicious mee hoon kueh is the soup base. Here come my mum's homemade ikan bilis soup! As I mentioned above, we would normally boil this soup base in a big pot for a few hours and then let it cool down, pack it and keep it in the freezer. That is why you still can see the ice cube there. No worry, the taste is still taste awesome!


How can you miss these two things when its comes to eating mee hoon kueh! Even my 10 years old boy is looking for it. 


We never get bored of eating mee hoon kueh every week. Because it is so delicious! This weekly practice had made my skill of pulling the noodle as thin as possible successful! 


The secret of a tasty mee hoon kueh also came from the love one who prepared it for you. Why I said that because my mum helped me to pulled the noodle while I stand beside her and wait! hahahahaha..... 

Note : This mee hoon kueh taste better if you cook it per serving at a time.

Happy cooking!

Wednesday 11 May 2016

Homemade Chicken Powder


When I first heard about homemade chicken powder, I was very curious about what it was. I wonder how they make it. I only knew store bought chicken broth and Knorr's brand chicken cubes. That's all. 


I used to make the chicken broth by using chicken bones and vegetables boiled for a few hours, then set it in the freezer. But this will take up a lot of space in my freezer. Then I bought this self-proclaimed homemade chicken powder at 100g for RM35. I found it is very useful and it makes my cooking and life more easier. I stop purchasing it after a few bad rumors. 

Later on, I got a secret recipe from one of the groups that I joined (Krystal Wee's group). She is too kind to shared me her secret chicken powder recipe. Yes, I used her recipe to made it but the taste did not suit me much. Maybe I used the wrong method and wrong temperature. Since it is a secret recipe, if I can make the exactly like the original taste, that means everyone else can make it too. I really want to thank Krystal mummy for sharing with me her secret recipe. (✿◠‿◠) 


Then my hubby came to rescue (ɔ◔‿◔)ɔ ♥! He bought me my TM! The first thing in my mind was my homemade chicken powder! Ok, let me praise my hubby a bit here (✿◠‿◠) He is so kind to buy me the TM when I told him my problem and how useful the TM can help me in my cooking skills. And here comes my homemade chicken powder recipe!

Homemade Chicken powder
Recipe source from : TM website


What you need:-
- 300g chicken breast without skin
- 70g onion (I used red onion)
- 60g leek (white part only)
- 70g garlic
- 10 pcs coriander seeds
- 2 cloves (I added in)
- 1 tbsp parsley (I used more than 1 tbsp fresh parsley)

Seasoning
-120g sea salt (I used 1/2 tsp sea salt)
- 50g rice wine (I omitted)

Method:-
1) Place all the ingredients into TM bowl to chop. MC/10 secs/Speed 7
2) Add in the sea salt and rice wine to cook. 25 mins/V/Speed 2 
3) Blend the mixture. MC/10 secs/Speed 7
4) Place on tray and bake in oven for 25-30 mins at 150c (I baked at 150c for 30-40 mins and I am using BAF)
5) Place mixture into TM bowl to mill. MC/30 secs/Speed 10


You can see my fresh parsley. They are more than 1 tbsp LOL!! When they are in the oven, my house would smell heavenly especially with the smell of the fresh parsley. I cannot wait to try it out. 


Before baking its looks like a paste. After baking it will look like a powder form. I will try again by adding the rice wine next time.


You can mill it more fine by grinding it in longest time. I had no regret to use 1/2 tsp of sea salt instead of 120g because I think it is too much since the ingredients I used are all so fragrant and when I tasted it, it is really like heaven. Since my kids are taking this powder too so I omit the rice wine.


I cannot believe that I can make homemade chicken powder! 


I just tried it out to marinate my pork and I will let you know the outcome. 


I had weigh how much I can get by using 300g of chicken breast. I made 185g of homemade chicken powder. Outside is selling 100g for RM35.00.  So you can imagine how much I bought the ingredients for. Cheap right, just that it's a bit time consuming. 


You can use this homemade chicken powder for instant soup, marination, stir-fried vegetable or porridge. 


Now my kids can have a safe 'ajinomoto' for their daily meal. Mummy knows what are the ingredients used, so I do not need to worry here and there what others sellers are using.

Wednesday 4 May 2016

Homemade Deep Fried Shallot


How many of you like fried shallot? I can tell you here that all of us in the family love fried shallot so much. We can eat it like a snack. We can use it for anything. We even can die for it. But~~~ all of us hate peeling it!... 


So, you want to ask me why not I just buy it from the store, it's much easier, no need to peel so hard until tears also drop!.. As I said, my whole family 4 of us, plus my mother and brother they are all super fans of fried shallot. Do you know how much it would cost for a pack or per gram? It is expensive wei...


I still remember once I peeled this shallot, my eldest son came and asked me..
Son : "Mummy, what are you doing there"? My tear keep coming out!
Me : I am making your favorite fried shallot, do you want to eat?
Son : Oh my favorite, by nothing to do with my eyes?
Me : Yes, got! It is not easy to make, so if you want to eat so you need to donate some tears first...
Then he walks away and keep going to the toilet to wash his eyes..


Ok, let me share the fried shallots here

Homemade Deep Fried Shallot
Recipe source from : Fiona Low


What you need :-
- Shallots
- Oil for frying

Method :-
1) Peel the shallot, do not touch water


 2) Slice the shallot by using machine or by hand using slicer (if small batch)


3) Prepared the oil for deep frying (I used canola oil)


4) Check the heat by throwing a piece of shallot in and if you can see the bubbles, it means that the oil is hot enough


 5) The shallot will slowly shrink and make sure you keep stirring them to prevent uneven colour.


 6) For my case, I fried in two batches. One batch around 30 mins to get them golden brown. Drain the oil before set them aside.


 7) Store them in the air tight container and keep in the fridge.


Our crunchy fried shallot is done! Total process took about half day! So you can imagine the son who donated his tears is worth it or not? (>‿◠)✌


The process of this fried shallot is quite long but I am happy that my family are not consuming those unhealthy snack/topping with the ingredient I use, the hygiene way to make it and of course free from repeating oil that I used. 


3 Kg of canola oil was use up just for this deep fried shallot. Meaning 1.5kg per batch and we kept the oil for our stir fry vegetables, drizzle some into our soup, when making wantan mee or steamed tofu. Those that you can find in Chinese dishes. You name it.


I really hope my step by step guide will help you with making homemade fried shallot.